React Native - 4 Top Differences in Development for Android and iOS

Indeed, we can reuse most of the code between Android and iOS platforms, but in the end they are different systems, and there are some important differences in the development process. In this article, we will walk you through the 4 top differences of building Android and iOS apps in React Native.
4 most important differences between development for Android and iOS
We gathered and described the most important differences between development for Android and iOS, which will help you to understand the differences of building in these systems.
1. Operating System
There are some tools which let you run an iOS simulator and probably test the app there, but I haven’t tried any of them, and I am not sure about their reliability, because they’re not official Apple’s tools.
So while working on Windows, you’re limited to the only official tool - Android Studio, which lets you work on the Android version of the app.
When you use macOS you don’t have this kind of problem, because Android Studio works on Apple’s Macbook. This is why the recommended tool for React Native developers is a computer with macOS.
You can build applications for both systems - Android and iOS - with React Native, but you cannot easily check if the app works on both systems if you’re working on a computer with Windows. Windows cannot run XCode and its simulator, which is a macOS-only app. This is quite a limiting situation, because XCode is a very helpful tool and I use it quite often when working on React Native applications.
There is a way to run iOS applications on Windows using the Expo framework. This tool allows you to run your app on a physical iOS device without XCode. Working with Expo comes with some limitations, which are listed in the official documentation. Although running iOS apps is possible on Windows machines, the recommended OS for creating React Native is macOS with its set of dedicated tools.
2. Native Elements
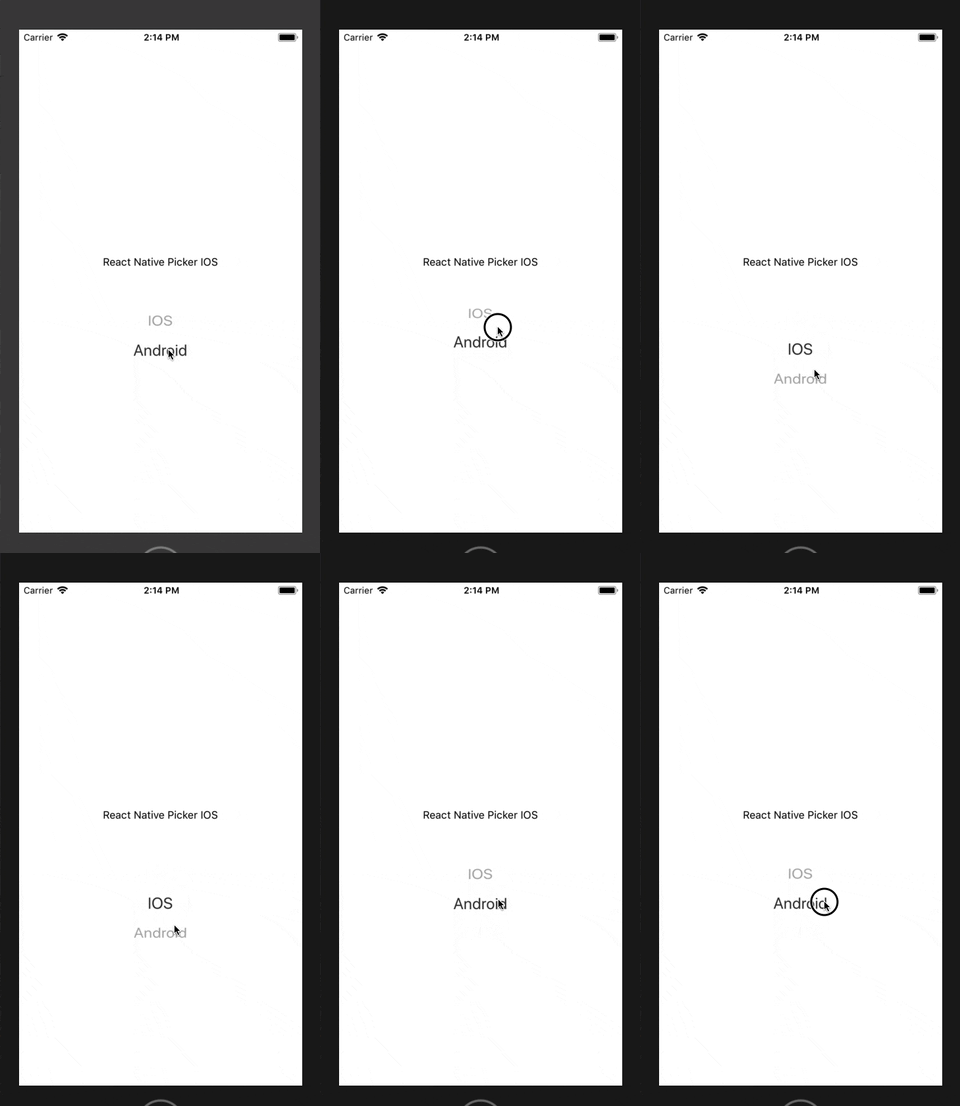
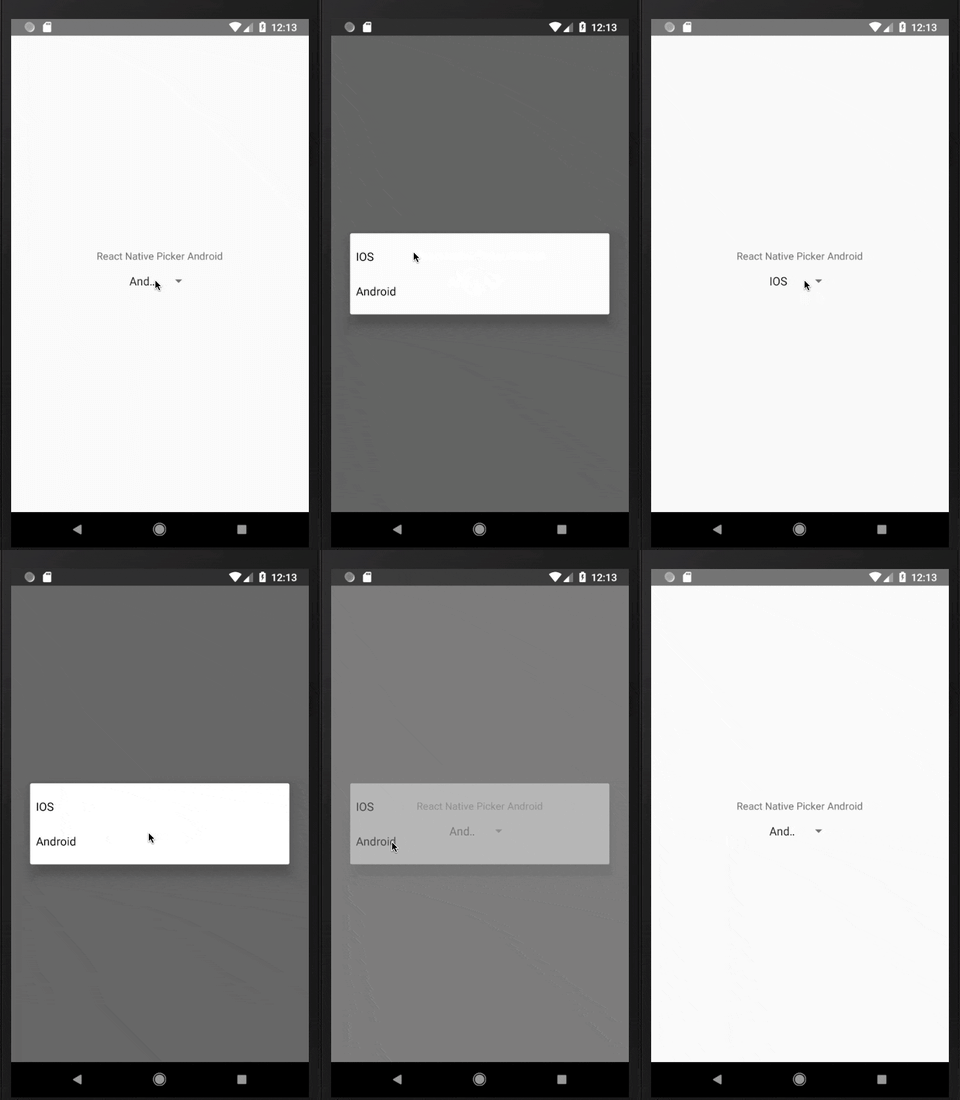
It may not seem obvious at the beginning, but while using components from React Native you may be surprised that, for example, using the Picker component produces a different result in the iOS simulator than in the Android emulator. This is because, under the hood, React Native uses platform-specific elements for its components.
The example below shows the code of a simple React Native Picker and its rendering on Android and iOS.


3. Specific Styles - shadows
Shadows are another important topic in terms of differences between iOS and Android while working on cross platform apps.
With React Native, you just style your application using JavaScript. The style names and values usually match how CSS works on the Web, except names are written using camel casing, e.g borderRadius rather than border-radius.
That’s why implementing shadow we would use code like this:

As you can see, there’s no shadow on Android at all. This is because Android doesn’t support shadows in React Native, and in order to have some kind of shadow, we have to use the elevation property. The elevation property “elevates' an element above the standard elements so it “casts” a shadow. The shadow grows bigger in line with how much elevation is given to it.
This style property has no effect on iOS apps, which is why we don’t have to use the Platform.select option this time.
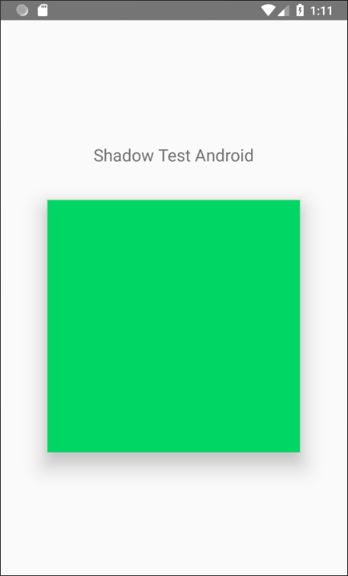
Adding elevation: 20 to the code above results with a shadow on Android like this:

As we can see, there’s a shadow. We can only operate with one property, so there’s limitations to operating with shadows on Android.
4. Manually Linking Libraries
The React Native team has recently made huge progress when it comes to the process of integrating third-party libraries. Autolinking allows you to seamlessly add native dependencies to most projects. But sometimes you need to do some work on your own.
Linking libraries manually isn’t an easy job for anyone coming from the web development world and isn’t that easy for Native developers trying React Native.
Manual library linking means adding some code in the Android and iOS folders, which requires some knowledge of the Java and Swift/Objective-C languages. Most of the libraries which I have used had great documentation and, even without knowing anything about these languages, I was able to implement those libraries into the app.
Unfortunately, sometimes the docs aren’t updated to the latest react-native version and there might be some differences or errors which may take some time to fix.
Is react native good for Android and iOS app development?
Although there are some differences between developing for both systems, React Native is still an awesome technology because it lets you reuse most of your code for both systems. Most of the differences are around the framework tooling and the application’s appearance.


